Monday, February 28, 2011

More Doodles


I've been having fun with my pens. I feel so much better + life is feeling a lot more doodley :) Thinking about how I can translate these ideas to fabric now. Happy Monday!

Thursday, February 24, 2011

My Creative Space - Texture

It's Creative Space Day again - pop over to Kirsty's to see more spaces or to join in yourself.

An update on my silversmithing classes... I've been experimenting with texture. Working silver through two huge rollers with fine layers of muslim, I've been trying to make silver look like fabric... an irregular surface of delicious texture.


I had grand plans of folding the piece like a kind of origami...


... but my kind teacher suggested I start with something simple (he seems to be aware of my tendency to try and run before I can walk!) 

I was thinking of attaching a crochet square with rivets, but now that I look at it maybe some drill holes and thread-stitching would look best. I do like its simplicity and graphic lines. 


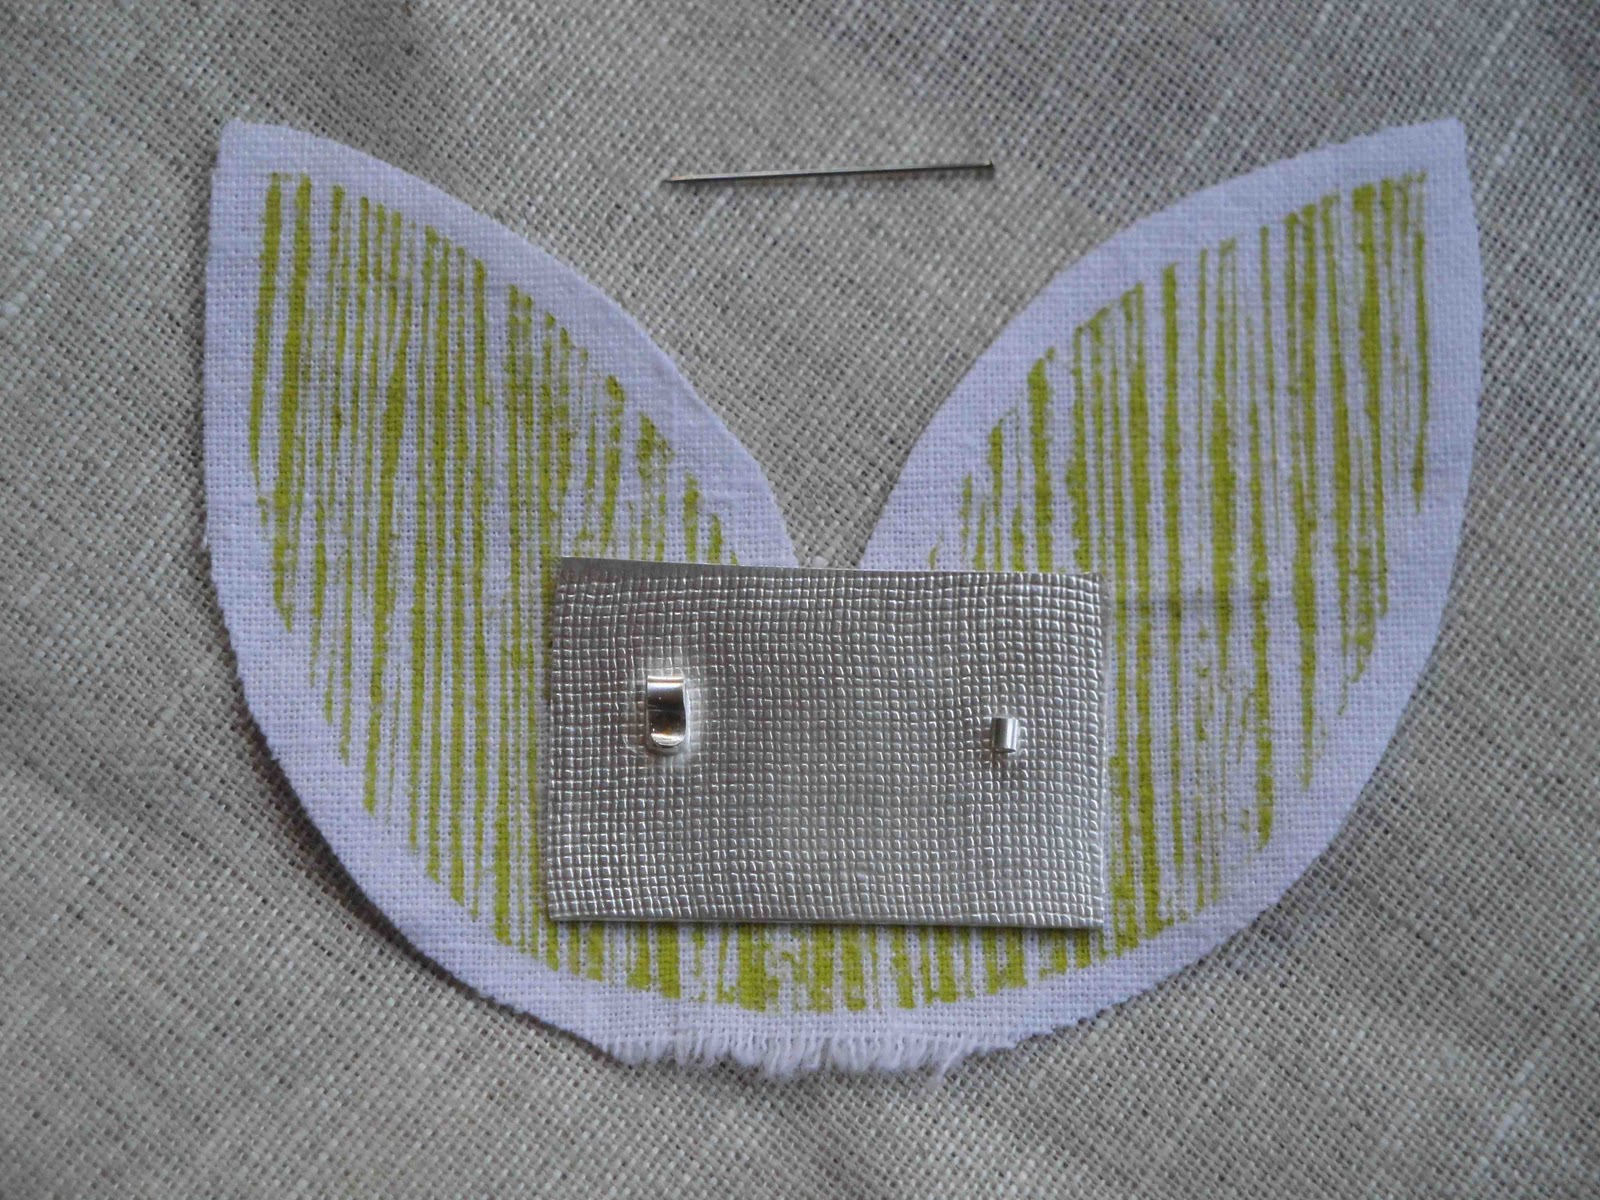
This is my brooch with a pin if you're wondering about size.


Hope it's a wonderfully creative day for everyone :)

Monday, February 21, 2011

Yellow


Doodling again. I found a piece of art paper with some washes on it that I must have done ages ago. So, I started doodling designs on it. I love the way the wash dictates the shapes, and yes, I feel the need for some happy yellow today. Hope it's a good day for everyone :)

Thursday, February 17, 2011

My Creative Space - Plan B

It's Creative Space Day again. Visit Kirsty's at Kootoyoo to see more.


I've been a bit down in the chops lately. My lovely friends here do this wonderful thing where they ask me to make something for them... We've never actually discussed it - I'm not sure if they know that I know they're just trying to help me... but that's the point I guess... they are good eggs and it helps me get back on the sunny side up ;) 


It does usually work. 


It worked when I was block printing upside down bunny ears onto linen... It worked when I cut out and sewed row upon row of bias frills... 


... it even worked when I came to piece all the bits together, sewing in a side zip as I went...


But then I realised I'd cut the bodice too narrowly... there would be side-spillage factor 1000... my friend would never wear it.


I was going to call it Failure Dress, but after a quick discussion with this good egg I realised that there really is no such thing as Success Dress. 


I've shaken off the blues again. I'm going to re-do the bodice. 
AND, thanks to my silversmithing course last night where we did a detailed study of how to properly plan out jewellery pieces... It was fabulous and I really should, and am going to, use it with all my projects. So, here's to PLAN B :)


Sorry for the ramble this week... ON A HAPPIER NOTE: my gorgeous Big Girl is turning 14 tomorrow. I have that strange feeling of having known her forever and of how quickly time has sped by to get us to this point. I've just spent the last hour looking for a birthday coin for her... and finally found this humble 5 cent piece to incorporate into her card.


Hope it's a fabulously creative day for everyone :)

Tuesday, February 15, 2011

Just thinking...

via


via
via

... about map themed bedrooms for children...

... with a shameless plug... ;)


Wouldn't Cath's new cushion be perfect? Find it here.

Thursday, February 10, 2011

My Creative Space - New Dress

I'm playing along with Kirsty's My Creative Space meme today. Visit Kootoyoo to join in or see more spaces :)


There are a lot of things I should be doing... instead I found myself working away on this simple dress idea. I made up the pattern as I cut and adjusted as I went. It's fully lined and I had some fun with one of those chunky zips too. Somewhere along the way the pattern on the fabric (hugely discounted Orla Kiely bed linen!) wasn't center-balanced anymore so I think I'll make a brooch out of my bunny ears design too. Can you see my bunny tail? :)


Happy Creative Space day - hope it's a great day for everyone.

Wednesday, February 9, 2011

Inspiration: Stephanie Schneider


A fashion and textile designer by trade, Stephanie Schneider has branched out into jewellery design to make these exquisite pieces. Her collection is continually evolving with meticulously interwoven mediums of mohair, silk, linen and traditional silversmithing metals.
I've started back at my silversmithing course and collections like this remind me why I started in the first place... a slavish love of mixed media :) Visit Stephanie Schneider's website here. 

Sunday, February 6, 2011

2 Bunnies + a Bear


I thought of a way to use up the part of my 'bunny ears' design that I wasn't happy with... can't think where the inspiration came from to make bunnies ;) 


2 bunnies and a bear are now in the shop.


Collar winner


True Random Number Generator  7Congratulations to Lynn from Hearted Girl! 

Thursday, February 3, 2011

My Creative Space - Meterage

I'm playing along with Kirsty's My Creative Space meme today. Visit Kootoyoo to join in or to see other spaces.


Experimenting with meterage and wanting to try something simple and graphic; something suitable for lining perhaps. This is from a block I carved a couple of weeks ago now. 


Originally, I wanted it to go with my other block - something to make it a bit more interesting, less twee... but now I'm thinking it stands alone pretty well :) 


Of course, I couldn't resist trying it with that other block (I don't really like it I have to admit!). My Big Girl calls it the 'Bunny Ears' design. 


Hope it's a good day for everyone. Don't forget I'm having a collar giveaway!

Sunday, January 30, 2011

Collar Tutorial

Some of you have requested a tutorial on how to make collars, so here it is :) 
I've done my best to make it as easy to understand as possible. I haven't actually done a tutorial before, so let me know if there are bits you don't understand...


Step 1: Print out the above image as A4 sized (21cm x 29.70 cm). Cut out the two shapes and place on the fold of your paper pattern. Add to or decrease the length of the collar within the red arrow area. Cut out your pattern and open the fold to reveal the full shape. 


Step 2: Fold your chosen fabric(s) so that you have two layers with the right side facing each other. Pin your patterns to the fabric(s) and cut out. You should have two pieces in each shape, as above. If you haven't altered the length of the collar, it should be about 48cms along its straight side.


Step 3: Sew the two pieces of the collar together on the three straight sides, right side facing inwards. Cut the corners of the collar and turn the collar inside out so that the right side of the fabric is facing outwards.


Step 4: Iron the seam flat. This will make it easier to do the next step of ironing the outside of the collar down flat.


Step 5: Cut out a strip of fusible web. Position it inside the collar and iron according to the fusible web instructions. This will give the collar a stiffness. At this point you can also choose to sew a seam along the collar or leave it, as you please.


Step 6: Place the layers for the pieces of neck fabric on either side of your collar piece, facing right side inwards.


[click on image to enlarge]

Step 7: Sew the neck pieces to the collar. Use pinking shears to cut the curved edge of the neck piece and collar that you have sewn together. Sew the ends of the neck piece together. Turn inside out and iron the neck fabric down flat.


At this point I usually iron a hem on the length of each neck piece. Then I position inside a strip of fusible web, iron the fabric together and sew along the edge. This is quite fiddly and difficult, so I've provided an alternative below which is much easier...


Step 8: Iron a hem on your neck fabric, insert a strip of fusible web and iron. At this point you can either  turn your hem and sew it, or cut out a strip of fabric and sew to exposed edge and turn and sew down on the reverse side in much the same way as you'd attach some bias binding.


Step 9: Iron along the join of the neck piece to the collar so that it will sit correctly... And, there's your collar!


Step 10 is, of course, devising a way to attach the neck piece at the front. I've been playing with buttonholes, clips, brooches and ribbon (not always successfully). If you come up with a great idea, I'd love to see it :) Have fun collar making!


GIVEAWAY!
If you'd like to win this collar then let me know in the comments section. I'll be leaving it without any clip or attachment (so you can have all the fun with that one!) I'll do a random number selection for the winner  next Sunday 6th February.

Friday, January 28, 2011

The Old-Fashioned


I'm working on some new fabric designs. For some reason, this always feels better working off a tea towel ;) I don't think this one is going anywhere in it's current form, but it's given me a lot of ideas as to what works etc. Anyway, I've called it "The Old-Fashioned' in my mind because it reminds me of some strange 1940s design with a 1950s twist... maybe I should have called it 'the confused'? ;) Have a great weekend!